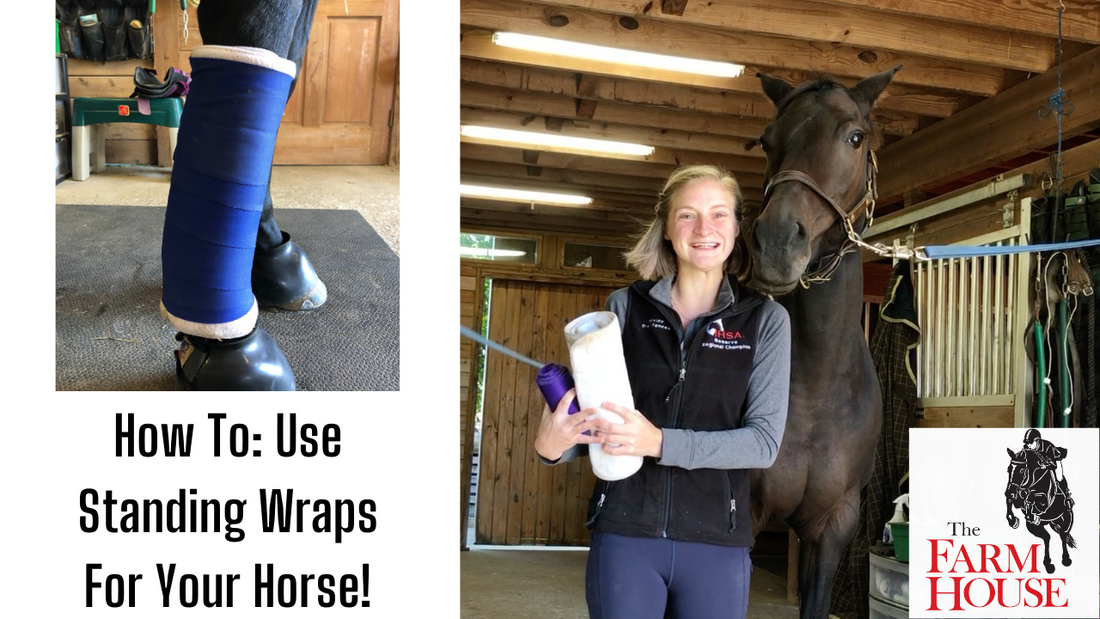
How To: Use Standing Wraps For Your Horse
Lizzie LenglingWe get so many questions about standing wraps, what they are, when to use one, how to apply one properly, and what types are best.
So we decided to make your lives a little easier and create this helpful guide!
Personally, my philosophy as a horse owner is to be self-sufficient. If there’s something I can learn and then do myself, I am all for it! This included learning all about wrapping at a young age. I vividly remember spending HOURS wrapping and unwrapping my pony until I finally earned the coveted “looking good” from my trainer.
She was a huge stickler about standing wraps and polos and would call me out on even the smallest of wrinkles. But I will be forever grateful to her for spending the time helping me perfect this art because when Mira got hurt two years ago and had to live in standing wraps for a whole month, I wasn’t worried in the slightest that my skills weren’t up to par.
Read on as I impart some of her wisdom to you and give a tutorial on all things standing wraps!
How To Apply A Standing Wrap
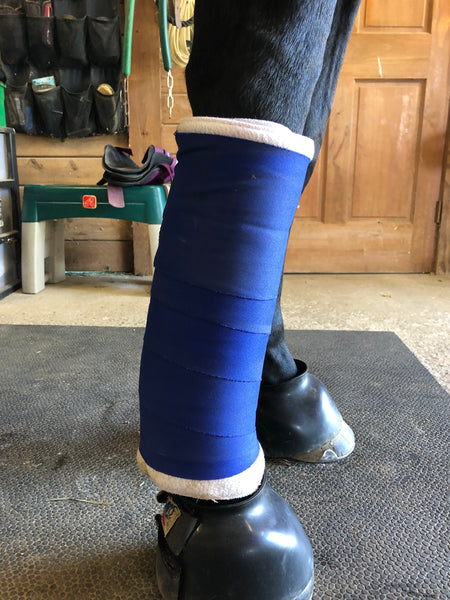
Step 1: Take your pillow quilt or no bow and place the edge of the wrap along the inside of the cannon bone. Begin unrolling the quilt towards the horse’s tail as you wrap along the leg.
Step 2: Continue wrapping the pillow quilt around the leg, making sure to apply even pressure with no wrinkles, keeping the top and bottom of the wrap even, until there is no more wrap left.
Step 3: Grab your standing bandage. Begin wrapping this layer over top of the pillow quilt. Again making sure you begin wrapping towards the horse’s tail and not their head. Start the wrap about ¼ - ½ way down the leg.
Step 4: Pull wrap snugly over the cannon bone and continue wrapping down the leg, applying steady and even pressure.
Step 5: As you wrap down the leg, overlap the bandage layers evenly, so no pressure points are created.
Step 6: When you reach the fetlock, leave about ½” of pillow quilt uncovered, then wrap back up the leg, repeating the process.
Step 7: When you reach the top, again leave about ½” of quilt uncovered and fasten the wrap together with the velcro strap.
What Is A Standing Wrap & What Is It Used For?
The primary purpose behind a standing wrap is to give the tendons and ligaments in the horse’s leg more support while preventing excess fluid buildup (also known as stocking up). This is critical for the horse after strenuous work, during trailering, or when they are on stall rest. This is why it is imperative to learn how to wrap correctly. An improper wrap can do more damage to your horse. If it is wrapped incorrectly, a bandage bow can occur, or worse, a bowed tendon.
What Type of Wraps Are Best?
There are two types of popular under bandages for standing wraps: the pillow quilt and the no bow wrap. Pillow quilts are more traditional and thicker than a no bow. No bows were introduced to prevent bandage bows. Because they are thinner than pillow quilts, they help with not accidentally pulling the stable bandage too tight, which then can cause a bow. Whether to use one type of wrap vs. the other is completely user choice.
Quick Tips:
- Practice with old school flannel wraps! They show your wrinkles 10x more, so will call out any mistakes you make. Then you’ll be even more confident with regular stable bandages.
- Keep the stable bandage close to the leg when you are pulling across the cannon bone, that ensures you get a snug fit but don’t pull too tight.
- Tuck the very beginning of the stable bandage under the last layer of the quilt to keep your bandage in place and extra tidy.
- If applying a poultice, use damp poultice paper (or recycle brown paper bags) to help the poultice be more effective and keep your wraps cleaner!
- When wrapping hind legs, tie the horse’s tail in a knot to keep it out of the way.
- Make sure not to kneel on the floor while wrapping. Stay on your toes so you can hop out of the way quickly if the horse were to spook.
- If your horse is spending a prolonged amount of time in standing wraps, make sure you unwrap and rewrap at least every 24 hours.
- If your horse is a pesky wrap chewer, try a halter bib to foil their nefarious plans!
- Practice, practice, PRACTICE!!
Now that you are all professional “wrappers” and can give Eminem a run for his money... if you have any of your own tips, let me know in the comments below!
2 comments
Thank you for the detailed instructions. It had been a while since I have had to wrap and was not sure I remembeted how to start.
Thanks for this concise yet comprehensive tutorial! Super helpful!